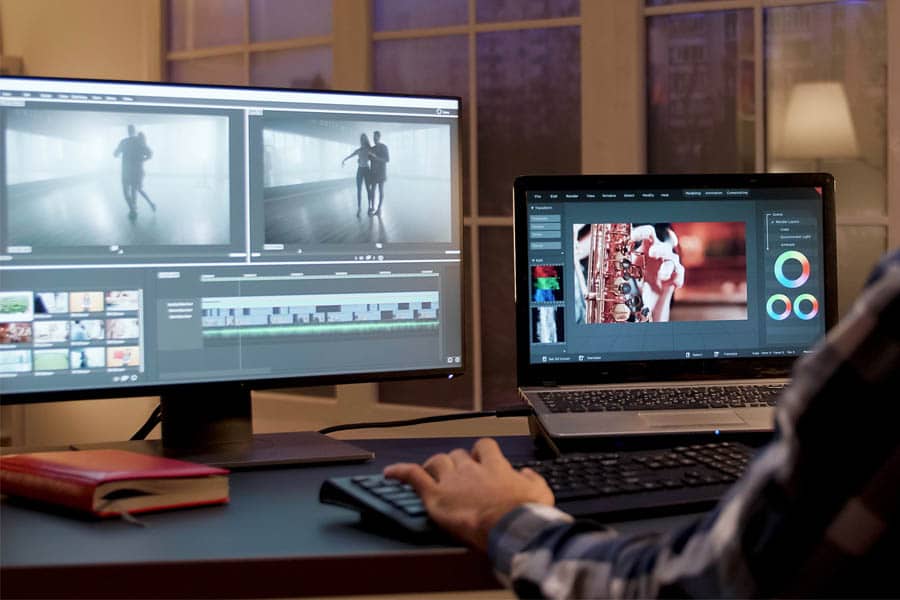
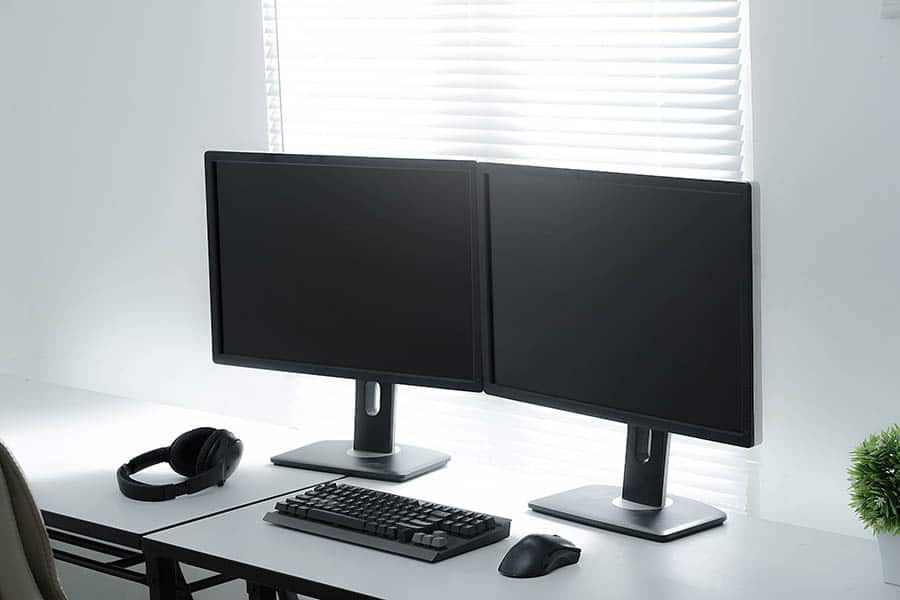
If you’ve got a dual set up in the office and you want to recreate the same at home, then you’re not alone. Many people realise the benefits of having a monitor when you’ve been working on your laptop. But, it’s not always that easy to connect another monitor to your laptop.
And if you’ve never used two screens before, then you’ll likely want to at least give it a try. Having a monitor will give you a whole lot more screen real estate, and it can make it much easier for you to organise everything within your desktop.
Depending on the laptop you’re using and its operating system, then there might be some slight differences between the way you’d set them up. But for the most part, it’s quite a straightforward process to follow that shouldn’t take you very long.
But, the setup process is a little different for Macbook users than it is for Windows 10 users. So, let’s look at how you can set up a monitor for both different operating systems.
How to connect your monitor to a laptop
The easiest way to connect a monitor to your laptop is by going into your Control Panel and going to your devices settings. Here, you can access the Display Menu, where you can select Connect an External Display. Now, you’ll see your laptop screen across your monitor too.
Of course, this is assuming that you’ve done everything you already need to, like plugging your laptop into the monitor. Whether you’re using a large or a small monitor, the process is still the same.
Modern laptops tend to make it really easy for you to connect your devices together. Let’s look at some more comprehensive instructions for you to follow.
Connecting a single monitor: Windows Laptop
The majority of people out there will be looking for a simple guide for connecting a monitor to your Windows laptop using a HDMI or Displayport connection. Here’s a straightforward process for getting this done.
1. Cable Connect the Laptop to the Monitor
To get started you’re going to need to connect the two together. Depending on the laptop that you’re using, you’re likely going to want to connect them via a HDMI cable, or maybe via a DisplayPort connection.
A DisplayPort will typically allow you to get a faster refresh rate than a HDMI, so think about whether you need a fast refresh rate (gamers will want to do this).
It will really depend on the ports that your monitor and laptop already have, as you may want to use a HDMI port or mini DisplayPort if possible.
2. The Process
The next thing you need to do is actually connecting the two together. From here, you need to go to the Control Panel > Appearance & Personalization. Once you’re in Personalization, you should be able to find Display. This is where you can control everything to do with your laptop and more importantly, the monitor.
Now, scroll down to the Multiple Displays option within the Display menu. Here, you’ll want to select Extend these displays. This will properly connect the two together, and you should be able to see your laptop’s homescreen on your monitor too.
3. Make your adjustments
After you’ve made the connection between the two, you don’t need to stop there. You’re going to want to go ahead and adjust the monitor to suit what you want.
You can select a certain resolution depending on what your monitor offers, and increasing this is what will help with the clarity of your text.
What about connecting a monitor to a Macbook?
Some people out there might be looking to connect a monitor to their Macbook instead. If this is you, then this part will guide you through completely this process with your Apple laptop.
It isn’t any more difficult than doing it with a Windows laptop, but it is slightly different.

1. Connect the Macbook to the Monitor
One of the things that sucks about using a Macbook is that the newer models have barely any ports for you to use.
So to connect your laptop to an external monitor, it’s likely that you’re going to need an adapter to do this. The best way to connect the two is likely to be HDMI or via Displayport.
2. Set it up
The process for setting a monitor up with your Macbook is a little different than using Windows. First, you’re going to want to go to System Preferences, and then into Displays. When you’re in Display, go ahead and click the Arrangements tab. The Arrangements tab won’t appear if you don’t have a monitor connected.
Then, you can arrange the monitor as you wish to. Remember that you’ll need to have connected the two together to give yourself the ability to do this.
3. Make any necessary adjustments
With a Macbook, it’s very easy to pick the set up that you want and make any small adjustments to it. In the Display tab, you can easily turn Mirror Displays on, which will just display your laptop screen on the monitor. This is good if you just want to use your laptop with a monitor screen and get rid of your own.
A common question is how you can adjust the screen brightness on the monitor though your Mac. The best way to do this is often by downloading an additional app which can take care of this for you pretty easily.
How to Add Another Monitor into the Mix

In some cases, you might even be looking to set your laptop up with not one monitor, but two monitors. Fortunately, this process is pretty straightforward too.
The first thing you’ll want to do is find out if your laptop is capable of connecting to two monitors at the same time. If you’re running Windows 10, then you’re going to be okay.
For Macbook users, head into System Preferences and then head to the Support tab. Click through to Specifications, which will send you through to a page that shows you how many monitors you can connect to at the same time.
The main issue is generally going to be the amount of ports you have at your disposal. If you only have one HDMI port on your laptop, then it can be an issue connecting more than one display.
Unless you have a newer laptop with a Thunderbolt 3 port and a Displayport connection for you to use, you’re likely going to have to pick up a Display Splitter adapter to use with your laptop. This can be used to connect both of the monitors, and then connect the adapter to your laptop.
You can pick up an adapter like this one, which will connect your USB-C port to two different HDMI ports. Then, you can connect each monitor to your laptop without having to worry about a VGA port or DVI port.
Then, you can just follow the same instructions as above to set up the external monitors in the same way you’d set up a single one.
Conclusion
All in all, it’s quite easy for you to get a monitor set up with your laptop. Doing so is definitely a good idea, as when you’re at home you’ll easily be able to take advantage of the double monitor space.
It’s especially good if you’re looking to get some work done, as it allows for better overall multitasking. So, hopefully now you can get it done!