Do you use your iPhone to change the formats of your existing files? What? You didn’t know it was possible? And why would you, in the first place, want to convert an image to a PDF? Well, let me explain why and show you how to convert a picture to a PDF on an iPhone without any hassle.
First of all, PDF sharing is much safer. You can hide details like location, time, etc., from your image so no one else (except you) can see it. Secondly, it’s neat. You can organize your pictures into a digital photo album or file. And lastly, you can avoid compatibility issues when sharing your files with different devices.
Learn How to Convert a Picture to a PDF on iPhone
Turning a picture into a PDF is not rocket science when using an iPhone. And if you are looking for a way to convert your JPG or PNG photos into a PDF file and you still haven’t tried using your phone; let us show you how to convert a picture to a PDF on iPhone.
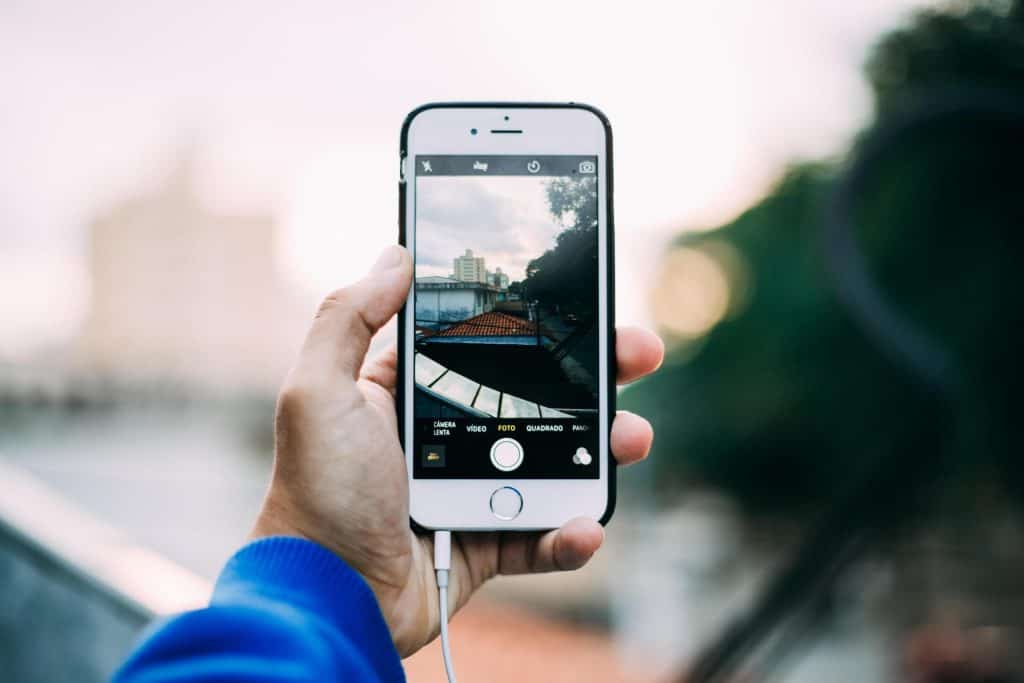
Converting Pictures into PDFs using iPhone
Okay, let’s admit it; most of the pictures on your iPhone are in the JPEG, JPG, or PNG format, and they are compatible with other platforms you use, but there are some cases where you will need to convert these images into PDF files. For example, it might be your paperwork documentation, classwork, or other specific purposes.
So, you need to turn your images into PDFs, and you want to use your iPhone. No worries, there are several methods you can use, and none of them are too challenging.
Via printer options
This is probably the most effortless seven-step procedure you’ll ever try.
- Open your iPhone Photos app and find the photo you want to convert to PDF.
- Select the image and click the Share icon.
- Choose the Print option (it should be at the bottom of your options list)
- Activate the PDF viewer by zooming in on your photo.
- Once you’re in the PDF viewer, tap the Share icon again.
- Save it to your iPhone files.
- Now send your PDF file with the assurance that the quality, coloring, and other essential properties of the photo will translate.
Via the Files app
The previous method will work if your images are saved in the Photos app. But if your pictures are in the Files app instead, you have a problem — the above method won’t work.
Luckily, the iPhone has a solution for that as well; follow the steps:
- Open the Files app and tap the Browse tab
- Locate photos you want to merge into one PDF file
- Tap the More icon (ellipsis one) in the upper right corner
- Click on Select
- Select the images you want to save as a PDF
- Tap on the More icon at the bottom right corner
- Choose Create PDF. It will automatically create the file inside your folder.
- You can click the file to open it and then the Share icon to share it or keep it in your online storage account (iCloud Drive, Google Drive, etc.)
Okay, we have to say that you can reach the same point via a different route — through the Photo app. You can start by selecting the images you want to convert, save them to your Files app, and convert them into a PDF through the Files app menu.
Here’s a video link for those of you who prefer a visual explanation:
Via Books app
You probably know that Apple has a Books app, but you don’t need to install it since it is pre-installed on all iOS devices. For those who deleted it (accidentally or on purpose), you can download it from Apple Store for free.
Now, this method doesn’t allow any customization, but you will turn your images into PDF files with one picture per page.

And here’s how it goes!
- Open the Photos app
- Select all photos you wish to turn into PDF
- Tap the Share icon at the bottom of the screen
- Select the Books app
- It will automatically send you to the Apple Books app, where your newly formed PDF file is
- You can open it by tapping on it
- You can also choose the Share option to share the PDF or save it to the Files app by clicking the three-dots icon below the file
CS Scanner app
So, how can you use a PDF Scanner app to turn your images into PDFs over your iPhone? Easily! Just follow the steps:
- Open the CS Scanner app
- Click the Scanner button at the bottom of the screen
- Tap the Gallery option
- Select a picture
- Once the image is uploaded, you can adjust and modify it as you wish (e.g., applying filters).
- When you’re satisfied, click Done at the top right corner
- You can share your new PDF by clicking the Share icon at the bottom right corner.
Via the Shortcuts app
Okay, this method is probably the most complicated, and we don’t really recommend it. But if you, by any chance, don’t have the option to use the other methods, roll your sleeves, and follow these steps!
Preparation
- Open the Shortcuts app
- Press the Plus (+) icon in the top right corner
- Look for the Select Photo option from the bottom Search bar
- Once offered, click on the small arrow next to its name, and enable the Select Multiple
- Go back to the Search bar, find and select the Make PDF option
- And the last option you’ll enter into the Search bar is the Share option
- Now that you’ve chosen all three options, press the Settings icon (at the top right), then select Add to Home Screen
- Change the name of the shortcut to, let’s say, “Create a PDF”
- Tap on Add at the top right to save the shortcut
Converting images to PDF
Now that you have all shortcuts on your screen, tap the shortcut you’ve named ‘Create a PDF’ (or whatever you’ve called it), and it will automatically open your Gallery. Then, you can choose photos you wish to convert into a PDF.
Once you’ve done that, you must tap the Add icon in the top right corner, and the shortcut will automatically convert these images into a PDF file. You can now save the file (by clicking the Save to Files option) or share it directly through the apps you use.
Via Online apps
And, of course, there’s always the option to convert pictures online, and guess what? You can do that over your iPhone. If you type in Google search “convert jpg into PDF,” you will find tons of online tools that can help you turn your picture into a PDF.
For example, I like to use Ilovepdf, but you can also use jpg2pdf, png2pdf, or any other you find online. And the best thing is that they are free and easy to use.
You just have to upload the photos you want to convert and download them to your iPhone once the conversion is completed.
Just be aware that some free sites limit the number of PDFs you can create daily, so you might need to use more online tools if you don’t want to upload all your photos in one PDF file.
Via Notes app
Speaking of scanner apps — if you’re wondering whether you have one on your iPhone, let us enlighten you — you do! It might not be a classic Scanner app since it’s a bit hidden; it’s within your Notes app.
The catch with this one is that you can’t try this with photos that are already saved on your iPhone; you can only add images, documents, or text that you shoot with the camera.
That means you can convert a picture into a PDF on your iPhone using the Notes app.

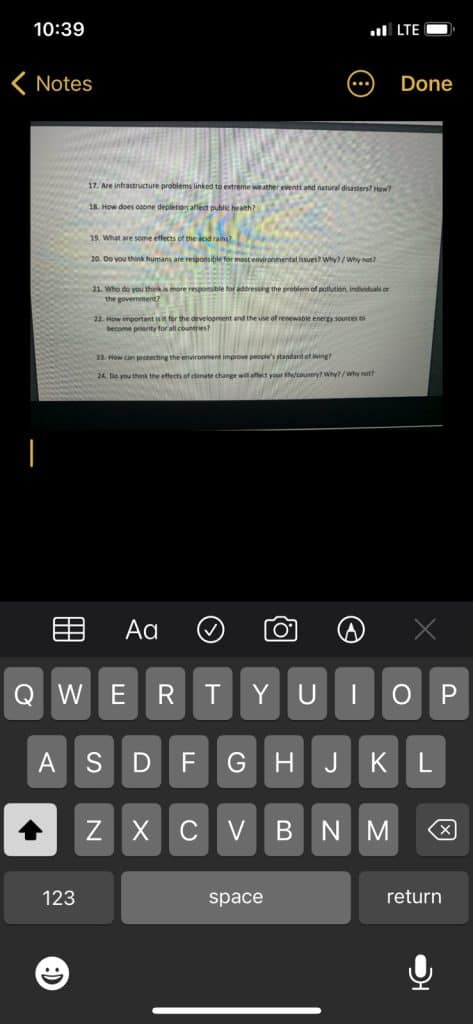
- Open your Notes app
- Open existing or create a new Note
- Click on the Camera icon
- Choose the Scan option and shoot the document
- After taking photos, click Save
- Once you’ve done that, tap the scanned document
- If you want to save or send the PDF file you’ve just saved, just click on the Share icon and choose whether you wish to mail it or save it to Files.
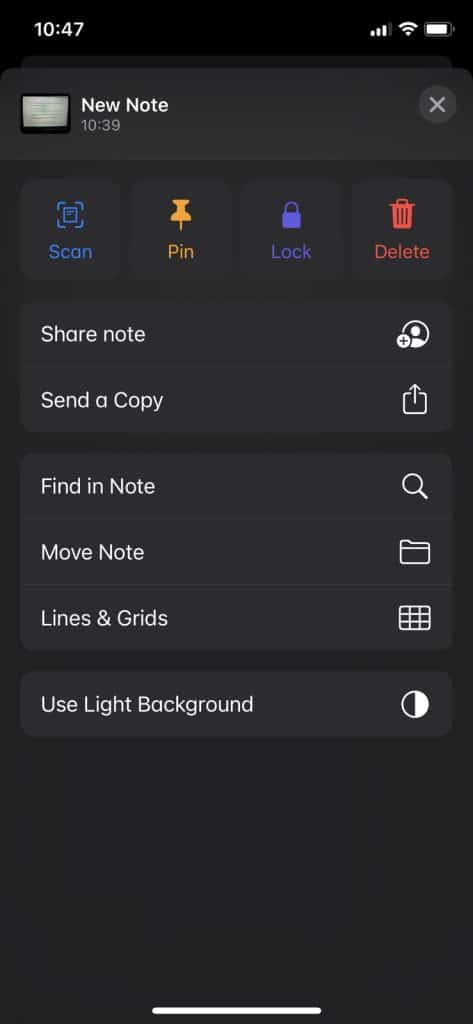
You can even edit your scanned photo. If you need that, check out the video.
Converting Multiple Pictures to PDF on iPhone
Let’s assume you want to make a collection; you want to place all your photos from the last holiday vacation in one document, a PDF. In that case, the best method is via the Files app.
If you only wish to add one image to a PDF, simply long-press the image. To choose multiple pictures, you must open the Files app, and then press the three-dots icon in the right corner of the screen, and then choose the Select option.
After that, you can easily tap on any image you want to insert into your PDF file.
Everything else is basically the same as picking one photo. You hit the More button (which is now at the bottom of the screen) and choose the Create a PDF option. Easy-peasy!
Frequently Asked Questions
Okay, let’s see what some of the most common questions are regarding converting a picture to a PDF on an iPhone.
Can I create a PDF on my phone?
Yes, you can! You have various options if your photos are on your phone, and if you want to save a new image that you’re about to take as a PDF, the best way to do that is to use the Notes app, which is already explained above.
How do I create a folder on my iPhone?
It’s really a straightforward procedure. All you need is the Files app that we all have on our iPhones. Now, if you want to create a new folder, there are two ways you can achieve that.
Option 1
• Open the Files app.
• Make sure you’re on the Browse tab.
• Select the location where you want to create a new folder.
• Look for an icon of a circle with three dots in it and tap it.
• Chose the New Folder option.
• Name it and click Done.
Option 2
• Open the Files app.
• Select the location where you want to create a new folder.
• Tap and hold anywhere on a blank space until the options appear.
• From the pop-up menu, select New Folder.
• Name it, click Done, and you’re done!
How do I put photos into files on my iPhone?
Yes, yes, we know that everyone has switched to digital albums, so you’re probably wondering how to create one on your iPhone. Well, making one takes only a few seconds.
• Tap the Albums (at the bottom of the screen)
• Tap the Plus (+) icon (from the top of your screen)
• Tap the New Album option
• Name it and save it
• Select the photos you want to insert into this album
• Tap Done, and that’s it!
Now, if you want to insert photos into an existing album, start from the Library. Once you’re there, ensure you view images by All Photos or Days. Tap the Select option, select the photos you want to use, and then tap the Share option. Choose Add to Album option and select the album you want to place the selected images.
Conclusion
You see, with an iPhone, everything is so easy! And you tormented yourself on how to convert a picture to a PDF on iPhone! You have multiple options, depending on what iPhone model you have and what apps you have on your phone. And if you don’t have it, no worries, you can always download it from the Apple store.
And one important note for all of you — make sure you have the latest iOS updates because, with the older ones, you might not have some of the functions.
Anyways, we hope this helped, and enjoy your digital albums!
Oh, is there anything we haven’t covered in this article? If so, don’t hesitate to post a comment below.