For many people, their Macbook is one of their most valuable possessions. There’s no denying that the new Macbook with M1 processor is the top laptop under £1000. We use our Macbooks on a daily basis, and they’re our way of communicating, making money or simply browsing online. Plus, they’re not cheap either.
That means that if you’ve spilled water on your Macbook, then you may be panicking that you’ve destroyed it for good. The truth is that you could have damaged your Macbook, but there are things that you can do to prevent any more damage being done, as well as trying to fix the problem too.
The good thing about Macbooks is that generally, their keyboards are pretty well made to be secure, and not letting any spillages through. So, if you’ve spilled water on a Macbook Pro or Macbook Air, here’s exactly what you need to do to prevent any further damage.
What to do if you’ve spilled water on your Macbook
The first thing that you’re going to want to do is make sure that your Macbook is turned off. If it’s turned on, then you can go ahead and hit the power button in the top right hand corner.

As well as doing this, you also want to ensure that it’s not plugged into anything. If you’ve been charging your Macbook, then take it off charge immediately.
The last thing you want to do is have a water spillage that can be connected to your main electricity line in your house. And even if you’ve powered down your laptop, if you’ve still got it plugged in to the power source, then it’s still connected to the charging circuit.
Next, we’re going to start the drying process, which can minimize any potential damage you may have caused.
Drying your Macbook
At this point, you still don’t want to move your laptop from its current position. If there is water potentially going to damage it, the last thing you want to do is pick up your Macbook and allow the water to move around inside.
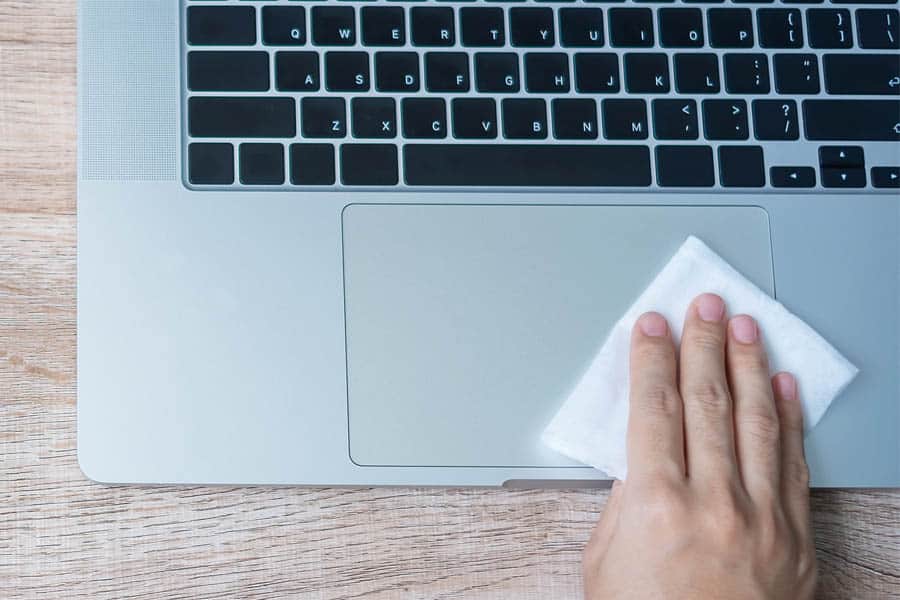
Now, you can use a towel to dry your Macbook out, but personally I prefer to use tissue paper to do this. It is absorbent, and it is much easier for you to squish into a smaller shape, which makes it better for getting into crevices that may have water in them.

Start out by drying out the touchpad of your Macbook, and run the tissue around the edges of it. Then, move onto the keys of your Macbook. Although they are quite resilient, this is probably the area you’ll need to worry about the most, as well as speaker grills (depending on how old your Macbook is).
Use the corners of the tissue paper to get into the sides of your laptop keys and ensure that they’re completely dried. If needs be, you can also use a smaller cotton bud around the edges of your keys and touchpad too.
If you’ve spilled water on the side of your device, then make sure you dry out the USB ports and others too. When this is done, you can then pick up your laptop and move it if you need to.
Flip into tent mode to drain
Now that you’ve done the best you can to dry out your Macbook, you’ll need to flip it into a different position to allow any excess water to drain out.
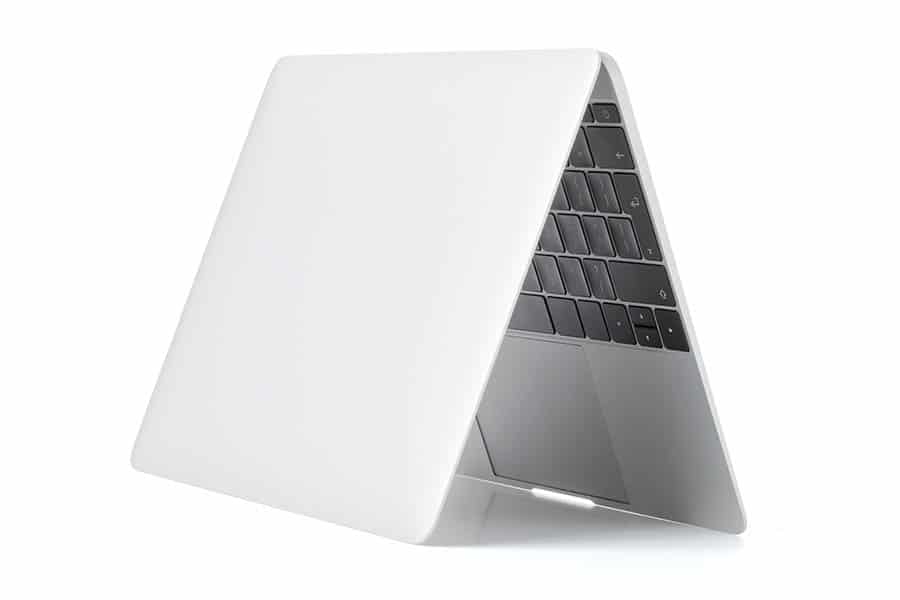
Whilst you can choose to put your laptop face down and hanging over the edge of your table, a better method is to simply put it into “tent mode”. This is a common position for 2-in-1 laptops to be in, and is very simple fo you to do.

Once in this position, you’re going to want to leave it there for a good while (at least several hours or a full day if you can). Over time, it should start to dry out without you needing to do anything.
This should give make sure that any moisture that your Mac has absorbed is cleared out from your Macbook.
Advanced – Remove the battery
If you feel comfortable and confident with taking your Macbook apart, then something else you can also do to check things are fine is to remove the battery from your Macbook.
This is a little bit more advanced, and for some people, it might prove to be a little difficult. Plus, Apple do say that if you remove your battery from your Mac, then it’ll void your warranty. So, do bear that in mind before you do this.
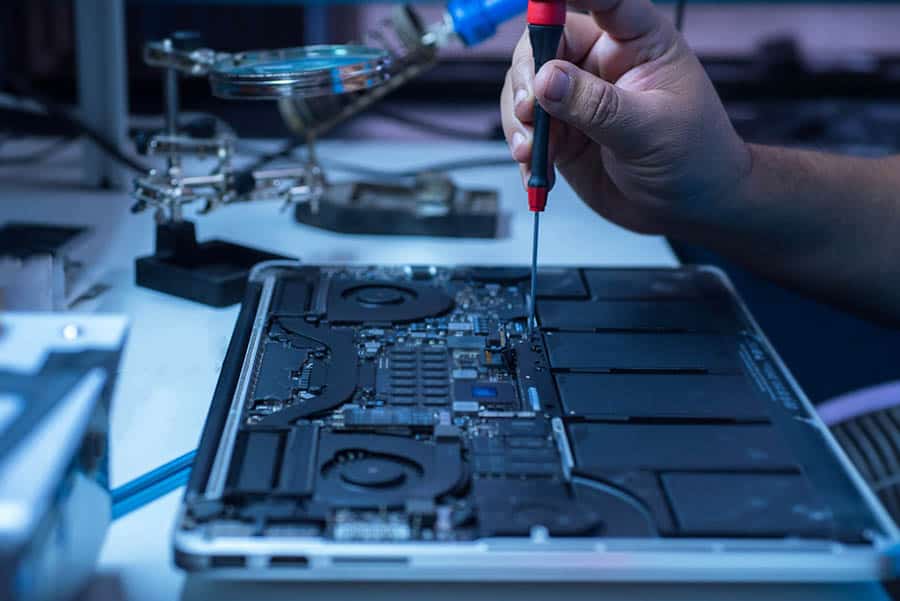
You can use a small screwdriver to undo the bottom of your Macbook, which will give you access to the internal components of your laptop. You should be able to find the battery easily, and in most cases, you can simply pick it out with your fingernails.

Make sure that the battery is dried off, and if you can, leave it out of the Macbook for a little while. Then, go ahead and place it back into your device. The logic board (or motherboard) is the most important part of your laptop, so if you can open things up and let it dry, this can definitely help.
Try your Mac out thoroughly
When you’ve run through all of the processes above, you’re going to want to test your Macbook to see whether you’ve fixed the problem. You can do this pretty simply, as you just need to use it as normal.
Test out the keys on your Macbook, and importantly the touchpad too, as this is something that can be damaged by water. Hopefully, everything should be working as normal if you’ve managed to avoid any sort of permanent damage to your Macbook.
Contrary to what may seem to be common knowledge, it’s actually not worth you using a hair dryer to try and dry your Macbook out. It may work a little bit in clearing out water, but it’s going to be nowhere near as efficient as simply using paper towels and tissue to absorb the water.
There’s also not much point in putting your Macbook into rice like you can with your iPhone. This is going to cause more hassle than it’s worth, and it’s not the best method to use for drying out a Macbook.
Conclusion
The reality is that Macbooks are actually one of the better laptops when it comes to being water resistant and splashproof. Like any laptop, if they get submerged in water then that’s a whole different story. In some cases, you may not have any choice but to take it to the repair shop.
But if you’ve only splashed a small amount of water onto your Macbook, then it should be fairly easy to ensure that there’s no damage to it. Simply ensure it’s turn off, spend a little time drying it as best you can without moving it.