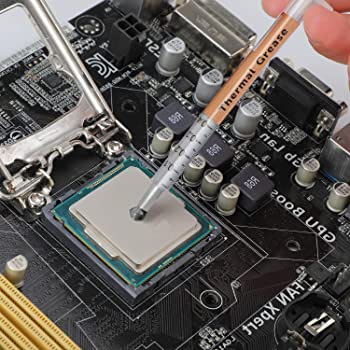
Thermal paste is used to keep your computer’s central processing unit (CPU) from overheating. It is a conductive substance placed on your CPU to ensure that the heated CPU and the cooler are placed as closely as possible. For new builds or older machines that require the removal of prior thermal paste, we’ll explain how to remove thermal paste safely.
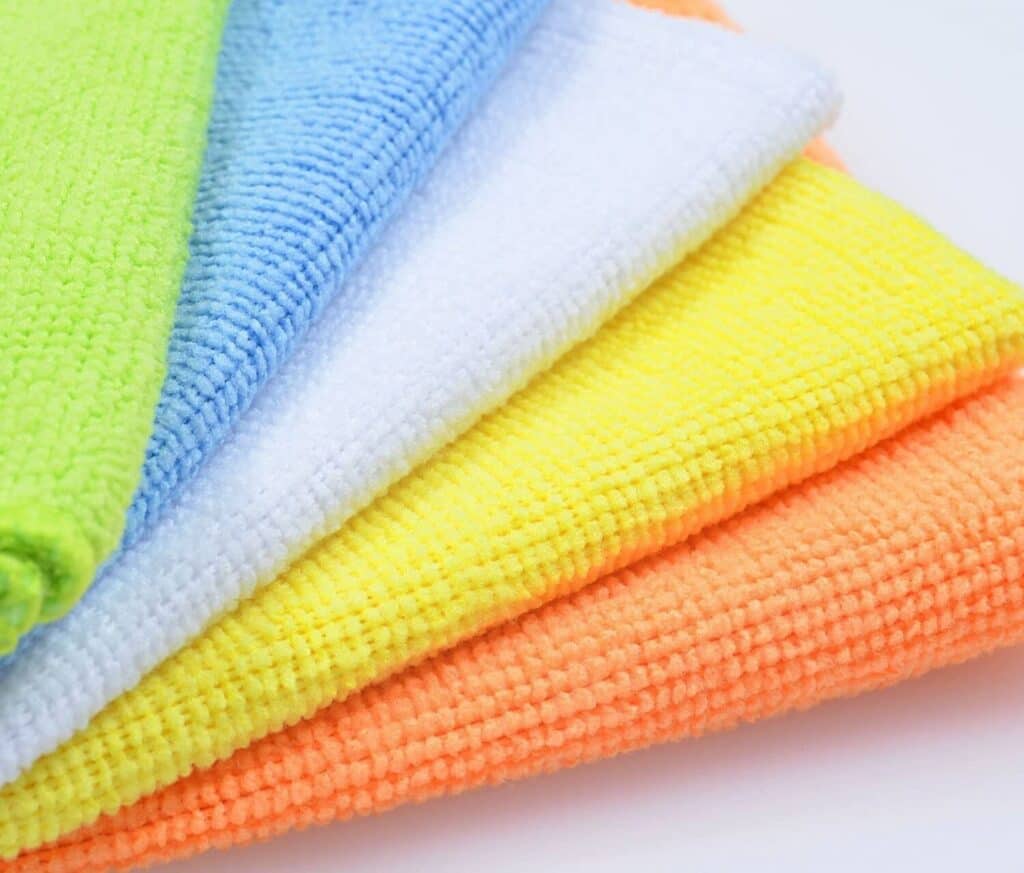
How to remove thermal paste? You can start by removing as much thermal grease as possible by cleaning the CPU’s top with a microfiber cloth. You may use a cotton bud dipped in rubbing alcohol for carefully removing thermal paste. Dip the end of a cotton swab into the rubbing alcohol and use it to take off the dried thermal paste.
This guide will give you a complete rundown of how to clean thermal paste off the CPU, just keep reading!
How to Remove Thermal Paste
It is necessary to remove the old thermal paste from a running machine before applying new thermal paste. Remove the CPU cooler and check that the thermal paste is visible; it’s usually white or gray.
Applying thermal paste on a new computer doesn’t necessitate the removal of the old paste beforehand.
Supplies Needed
You’ll need to grab a few things before we get started. Isopropyl alcohol and a microfiber cloth are the tools of the trade. You will need alcohol and a microfiber cloth to complete the task. While paper towels may be convenient for some, they leave behind a residue that may harm the CPU. Some additional tools include cotton swabs and a plastic spudger.

Note: Before you begin the process of removing the thermal paste, make sure to clean your workstation thoroughly.
How to Clean Thermal Paste Off CPU – Step by Step
Thermal paste is critical to the functioning of your CPU. It is possible to observe a significant drop in speed and performance when executing software if the thermal paste goes dry. This signifies that the thermal paste has to be reapplied. The hardened thermal paste on your PC must first be removed before you can accomplish this.
Follow the instructions below to remove the thermal paste from the CPU pins and heat spreader.
- Switch off your computer and open your PC’s case, or if you are using a laptop, unscrew your laptop chassis.
- Next, unmount the CPU cooler/heatsink from the CPU.
- Now, get some alcohol and a microfiber cloth. Dip the cloth in the alcohol and rub it gently on the rear of your CPU cooler to clean the residual paste. Rub it until you see no sign of dried thermal paste. You can also use a plastic spudger or a cotton swab to get hardened particles out. Work with caution when removing the paste around CPU pins.
- Take the thermal paste and apply it in the middle of the CPU. Take a pea-sized drop of the paste and spread it evenly.
- You can use a cotton swab to spread the thermal paste on your CPU.
- Now, mount the CPU cooler back on the CPU.
- After placing everything back, restart your system to see if the gaming temperatures are cooler.
How to Apply Thermal Paste
The next step is to reapply the thermal paste. Before applying your thermal paste, make sure you’ve read the guidelines carefully. You should be familiar with the process of reinstalling the CPU cooler. If you have not done it before, we suggest doing it with someone who has already done it before.
Supplies Needed
Check to confirm the CPU is clean and free of old thermal paste. Then, using a microfiber cloth, alcohol, and plastic spudger, gently remove any residual paste from the CPU’s lid before proceeding. Leave it to dry out before you go ahead with the fresh coating of thermal paste.
- Good quality thermal paste
- Microfiber cloth
- Plastic spudger to remove existing paste residue
- Isopropyl alcohol
Steps To Apply Thermal Paste
Follow the instructions below to apply thermal paste:
- Apply a fresh layer of thermal paste onto the center of the CPU’s Integrated Heat Spreader (IHS).
- The CPU’s heatsink must have a thin and even thermal paste coating applied.
- Carefully reinstall the CPU’s heatsink back to its place. Make sure the paste covers the whole area by laying it flat as possible.
- Make sure the CPU cooler is in place. Keep it stable.
- You should recheck your work after the CPU cooler’s base plate is in place. Thermal paste should not be dripping from the borders of the CPU or the motherboard.
Pointers for Applying Thermal Paste
If the cooler slips or falls, you’ll have to start over. The thermal paste must be applied to the heatsink to prevent air pockets from developing to ensure that its function is not compromised.

Use the necessary amount of paste to ensure optimum CPU coverage. If you apply extra thermal paste, it might get on the motherboard.
How Often Should I Reapply Thermal Paste?
You shouldn’t have to reapply the thermal paste more than once every few years. However, if you notice that your CPU temperature is rising, you might want to apply a fresh layer of the thermal paste.
Alternatively, you can reach out to the customer care of the thermal paste brand you are using and follow their recommendations.
Things to Keep in Mind When Buying Thermal Paste
The market is brimming with different thermal paste brands. General users may find it challenging to select a single brand. You need to look out for specific characteristics to get the right one for your CPU.
Viscosity
Using a thermal compound with a high viscosity makes applying it easier and more secure. The thermal paste you choose must have a high viscosity.
Conductivity Rating
A paste’s conductivity grade is based on adequately transferring heat—the greater the rating, the better.
Volume
A small amount of thermal paste is needed if you’re only using it for the CPU. It is best to get a limited quantity of thermal paste as you use it once before discarding the rest. Once opened, you won’t be able to use the thermal paste again for another application. It is a single-use product.
Type
Thermal pastes are available in both conductive and non-conductive varieties. Inexperienced users should stick to non-conductive materials. Metal-based thermal pastes might be dangerous if they spill on the motherboard. So, unless you’re an expert, don’t bother with the conductive thermal paste.
Frequently Asked Questions
After explaining how to remove thermal paste from the CPU, it is time to tackle other questions.
Can you just rub off thermal paste?
You’ll need rubbing alcohol and a microfiber cloth to get the task done. Apply a tiny bit of rubbing alcohol straight to the cloth and rub the thermal paste off the CPU. Leave it to dry for some time.
Do I need to remove the old thermal paste from the CPU?
Yes, you need to remove the old thermal paste from the CPU before applying a fresh layer of thermal paste. If you use it over the existing paste, the coating will be too uneven and filled with air pockets.
Conclusion
We hope this guide helps you in understanding how to remove thermal paste. You need to ensure that you use the right products to get the residue cleaned from your CPU. Be careful not to exert pressure while removing the thermal paste, as your CPU is a delicate unit. Share this guide with your gamer friends!