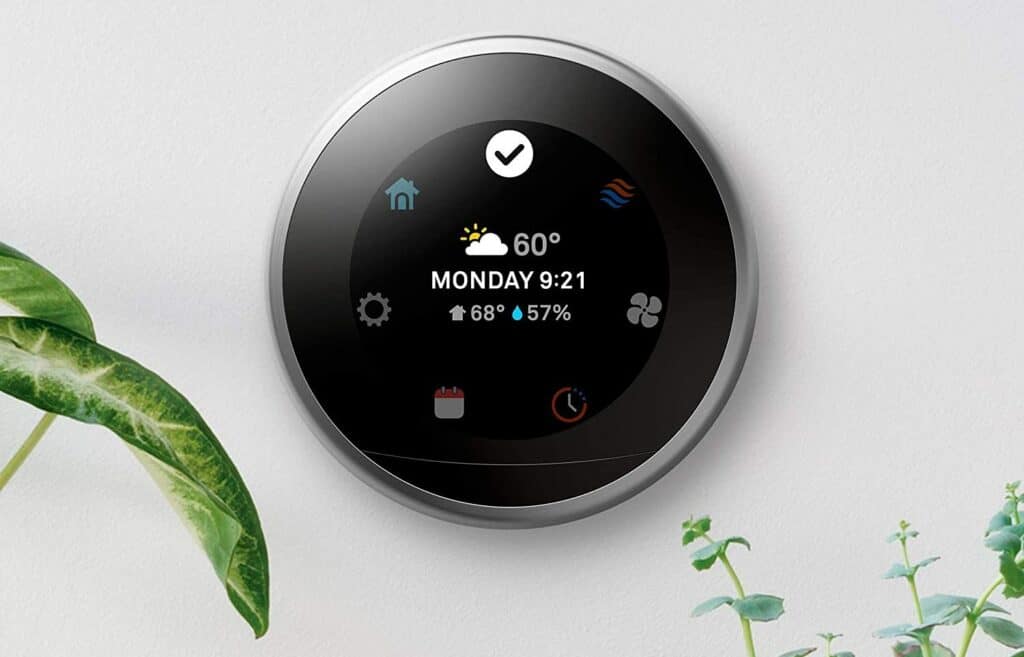
If you use a Nest Thermostat in your house, there are chances that you have already faced battery issues on the device. One of the most common issues encountered by Nest Thermostat users is the battery not charging.
Nest Thermostat battery won’t charge issue requires you to run some basic checks first. You first need to make sure that your Nest Thermostat is connected with its base and the C-Wire is in its position and not loose to evenly supply power to the device. Also, it would help if you tried charging your Nest Thermostat manually using the compatible USB cable – micro-USB (Micro-B) to USB-A cable.
The Nest Thermostat comes integrated with a battery that is charged when it’s connected to an electrical wire. The thermostat runs on that battery all day long (when not connected to power), contributing enough power to your Nest Thermostat. It also ensures that your thermostat receives the correct voltage and is not receiving alternative current from the circuit.
It’s worth noting that both software and hardware glitches could trigger battery problems. This article will walk you through the best ways to fix the “battery won’t charge” issue on the Nest Thermostat.

Before we begin our tutorial on fixing the battery not charging the issue, you must know why your Nest Thermostat comes with a battery.
Why is there a battery in the Nest Thermostat?
The Nest thermostat comes with a built-in battery in all three generations. The battery is charged directly from your home’s HVAC system through the Rh or Rc wires, and a C-wire (common wire) completes the circuit.
The Nest Thermostat works even when the HVAC system is switched off for an extended time because it has a built-in battery continually charged by the HVAC system.
The integrated battery comes in handy during a power outage or when there is no direct power supply to the HVAC unit. The Nest Thermostat’s backlit display, Wi-Fi card, and other features are powered by the battery.
Troubleshooting Nest Thermostat Battery Won’t Charge Issue
If the battery on your Nest Thermostat won’t charge or malfunctions, here are some possible causes and solutions.
Restart The Thermostat
If your Nest thermostat battery isn’t charging, the first troubleshooting step is to reset the device. Restarting your thermostat might help resolve various problems, including the battery issue. So, try restarting the thermostat to see if it fixes the battery problem.
How to restart Nest Thermostat:
- Press and hold the thermostat ring for 10 seconds or wait until the display goes off.
- To finish the restart process, turn it back on by pushing and releasing the ring.
If this does not resolve the charging issue, proceed to the next troubleshooting step.
Manually Charge The Thermostat
You can try manually charging the thermostat by using a USB cable. Perhaps one of the reasons why your battery is not charging could be due to total depletion. In such a case, it must recharge manually before charging automatically by taking power from your HVAC system.
How to charge your Nest Thermostat manually:
- Remove the display and plug it into a USB
- You can either plug the USB in your computer or a wall charger.
- To know it has begun charging, wait to see the blinking red light on the front.
When charging your thermostat, make sure you use the correct USB cable. Nest Thermostat E and Nest Learning Thermostat (2nd and 3rd generations) feature a Micro-USB port, whereas the Nest Learning Thermostat (1st generation) features a Mini-USB port.
Afterward, when the battery has been recharged, replace the display on the base and check to see whether the charging issue has been fixed. If not, the problem is most likely caused by your HVAC system rather than the thermostat. It’s possible the system isn’t supplying adequate power to charge the battery because of wiring problems.
Check wires for proper connection
The battery in your Nest thermostat is charged by the power supplied by your HVAC system. And this electricity is delivered via cables linked to the base of your thermostat. If the wires are loose, burnt, or otherwise damaged, your thermostat will most likely not get enough electricity to charge the built-in battery.
This is usually due to a lack of a C-wire or a problem with the voltage flowing from your HVAC unit’s Rh or Rc wire. First, check to verify whether your HVAC unit is powered on and if the circuit or a fuse has blown.
Unplug your thermostat and inspect the base to check if any cables are loose or burnt. Additionally, check to see if the wiring is compromised and tape it firmly.
Reset the Thermostat
Considering your thermostat has no wired connection issues, and you’ve performed the other troubleshooting procedures, the final troubleshooting option is to perform a factory reset.
Resetting your thermostat should solve numerous problems you’re experiencing with it, including battery problems.
How to reset Nest Thermostat:
- Touch and hold the ring to open the Quick View menu.
- Select Settings from the menu
- Now, turn the ring to Reset and then press to select All Settings.
Doing so will restore your thermostat’s default factory settings and should resolve the battery issue.
Please keep in mind that performing a factory reset will delete all of your personalized settings. As a result, you’ll have to start from scratch when it comes to configuring your thermostat (the same process that you followed for its initial installation and setup)
If the battery charging issue persists, you may need to see an HVAC professional to inspect your Nest thermostat. You can also contact the Google Nest help desk to discuss the issue and get a certified expert to visit your home.
Replacing Nest Thermostat
When experiencing problems with your Nest Thermostat batteries, it is essential to check to see if your device is still under warranty. If the battery fails to charge while the device is still under warranty, you may be able to get it replaced by contacting the seller.
If your warranty term has elapsed, you may still contact Google Support to learn about your choices. You have the option of purchasing a new device or attempting to change the internal battery.
How do I check the Nest Thermostat battery levels?
If your Nest Thermostat is operating on a low battery, you first need to figure out the actual battery level. To check the battery level, follow the instructions below.
- Hold down the thermostat ring until the Quick View menu appears.
- Navigate to Settings > Technical Info > Power
- If your battery voltage is 3.7V or greater, this means that your thermostat has not disconnected due to low battery levels. The line current should be more than 20mA.
- Although, if the battery level is less than 3.7V or your line current is less than 20mA, your thermostat may display a low battery signal.
How to replace the battery on the Nest Thermostat
Wear and tear can damage the battery in your Nest Thermostat over time. The battery may take longer to charge fully, and it may not offer the same performance even when fully charged.
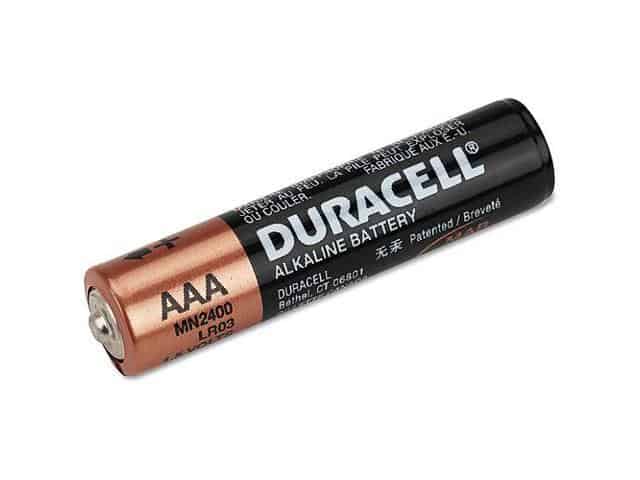
Replacing the batteries in your Nest Thermostat is an excellent way to guarantee that you get the most out of it. The Nest Thermostat is powered by two ordinary 1.5 V AAA alkaline batteries that you can replace easily.

Here’s how you can replace the battery:
Please note that you can replace the batteries on the Nest Thermostat, not the Nest Thermostat E or Nest Learning Thermostat series.
When you notice a low battery alert on your Nest unit, it is time to change the batteries. Follow the steps below to do it:
- Remove your Nest Thermostat and switch off the display
- Take out the AAA alkaline batteries from the back panel
- Implant the fresh AAA alkaline batteries
- Carefully put the device back on
Conclusion
If you follow all the troubleshooting methods mentioned above, it should not take long to figure out why you have been facing the “Nest thermostat battery won’t charge” issue.
Knowing the cause of low battery levels is critical to ensuring that your Nest Thermostat is functioning properly. In any case, if all the methods fail to work, your last resort would be to contact Nest support.
We hope our guide helps you in resolving the battery won’t charge issue on your Nest Thermostat. Let us know in the comments!
If you’re interested in learning about other Google Nest products, check out our in-depth review of the Google Nest Audio.