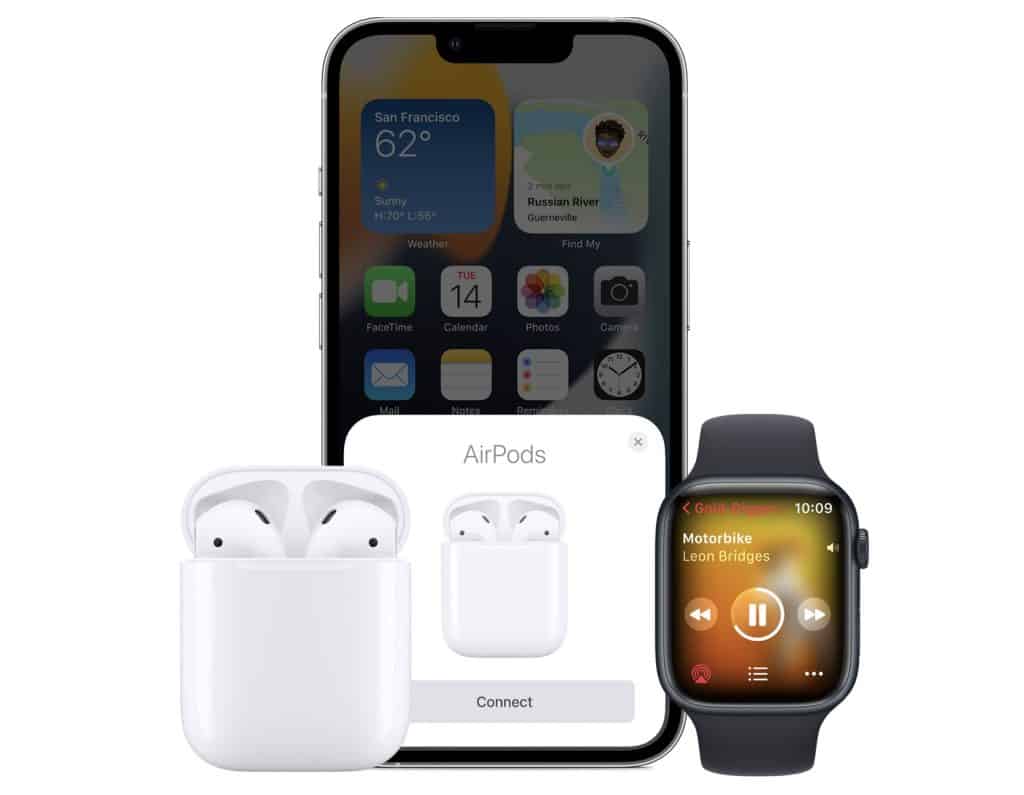
If you own an Apple Mac, iPad or iPhone, Apple AirPods are a flawless way to enjoy wireless audio on your devices.
Aside from great sound, a superior feature of the earbuds is seamless automatic pairing with Apple devices. But similar to any other electronic equipment, sometimes things don’t go the way you plan.
Therefore, if you’re wondering why won’t my AirPods connect, this guide is here to assist you with troubleshooting steps.
Let’s dive in!

Common Causes Why Your AirPods Aren’t Connecting
Connection issues with AirPods are not uncommon, and there are several reasons why your AirPods might be unable to connect to Bluetooth devices:
- Malfunctioning Bluetooth, or it’s turned off.
- Low battery charge.
- Hardware damage to the charging case or the earbuds.
- Unclean charging case or earbuds.
- Earbuds are stuck in pairing mode.
- The Apple device requires a reset.
- The Apple device requires a software update.
It can be difficult to blindly troubleshoot your AirPods, so running some preliminary checks is a wise idea.
Also Read: AirPods Keep Pausing? Why it happens and how to fix

How to Fix AirPods that Won’t Connect
If your AirPods aren’t connecting to your iPad or iPhone, this section has some tried and tested methods for you to try.
Connecting the AirPods to various Apple devices is straightforward and usually seamless. However, the automatic pairing function isn’t bulletproof. If your AirPods aren’t connecting, try the following methods.

Restart your Airpods
Before doing anything else, your first step should be restarting the earbuds.
For AirPods: Place the earbuds inside the case and close the lid for at least 10 seconds. Now try again.
For AirPods Max: Take out the headphones. Press and hold down the noise control button and Digital Crown simultaneously for 10 seconds until the light beside the charging port flashes amber.
Clean the AirPods
With time, dirt from the ears can gather on the earbuds and cause poor functioning. Dirty earbuds store moisture and bacteria that can block the proximity sensors, cause electric damage, and prevent proper connection.

You can avoid all this by cleaning the AirPods regularly. But if you’re unsure of how to do this correctly, you’ll do more harm than good. For instance, you could accidentally use a corrosive detergent or end up pushing dirt into the wrong spots.
To clean the earbuds safely, you require the following:
- An old toothbrush
- 70% isopropyl alcohol
- A toothpick
- Cotton swabs
The quick run-through to clean the earbuds is:
- Dampen the cotton buds and toothbrush with alcohol. Use them to brush through the AirPods crevices and edges and do this for the charging case too.
- Use the toothpick to pick out the remaining dirt or debris stuck on the AirPods case and edges.
- Rub the earbuds with isopropyl alcohol to kill bacteria.
It’s recommended to clean your earbuds every 72 hours of listening time to prevent the buildup of bacteria.
Check the Bluetooth connection
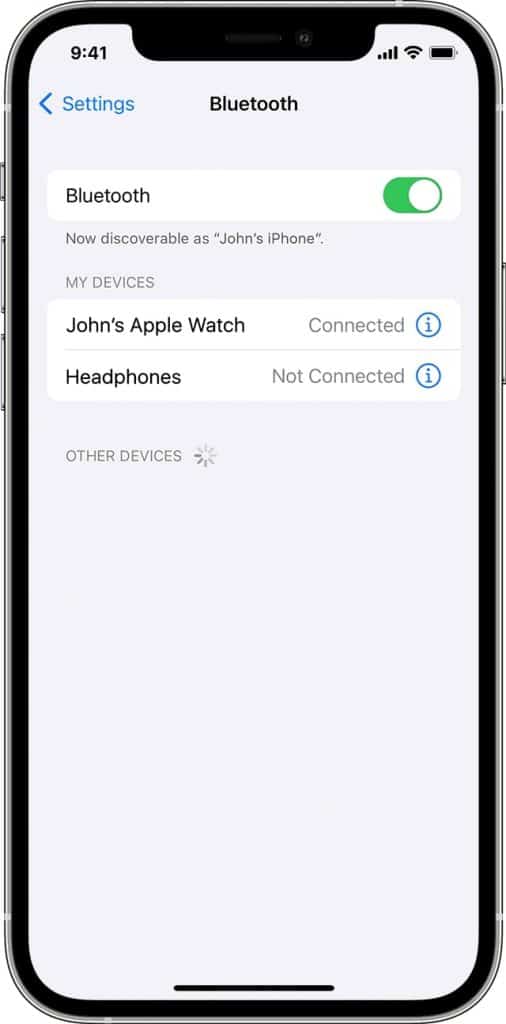
If Bluetooth is disabled, the earbuds won’t work. To check whether your Bluetooth is working, navigate to the Settings menu.
From there, go to Bluetooth on your iPod touch, iPad, or iPhone. If the Bluetooth connection is turned off, tap the button. It will switch from gray to green.

Check battery levels
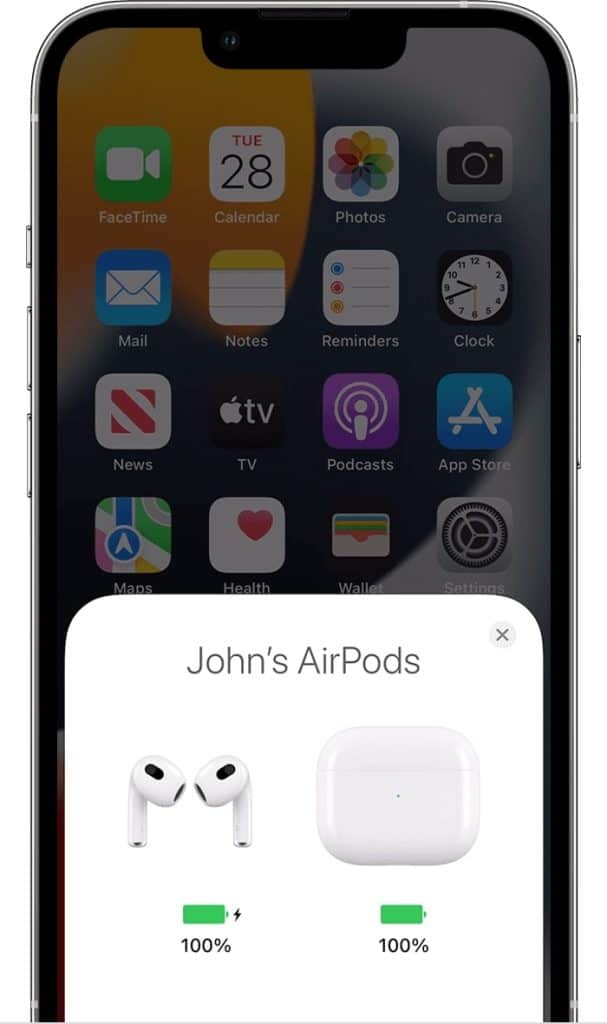
Make sure your AirPods have sufficient charge. You can check via the AirPods case or on your Apple device.
Check the charge on the AirPods case
Place your AirPods in the case. Now, open the lid — if the light is green, there is a full charge, and if you see an amber light, it means levels are low.
Check the charge on your Apple device
Ensure Bluetooth is turned on on your Apple device by navigating to Control Center > Bluetooth. Put the earbuds in the case. Hold it near the device and open the lid. Wait for a pop-up on your screen.

Check the charge on the AirPods via the battery widget
This procedure is only practical if you’re wearing earbuds.
First, swipe right on your home screen to navigate to the widgets on your Apple device. Next, scroll down and tap Edit. Now, press the Plus Icon at the top left corner of the screen to add another widget.
Click on Batteries from the widget list and select the widget size. Lastly, put the widget where you want. Tap on Done.
AirPods are designed to offer five hours of listening time on a full charge.
Check for firmware updates
If your earbuds are running on the newest update, it will ensure optimum performance. Plus, the newest firmware will fix the bugs that Apple is currently aware of.
But similar to software, bugs can arise from firmware due to incompatibility or coding errors. These bugs can be the culprit behind the connection issues.
To check out what firmware your earbuds are running on do the following:
- Open the Settings menu.
- Go to General > About.
- Choose the AirPods and see what version of firmware they’re on.
- Check the newest version of firmware on the official Apple website.
If it doesn’t match, you’ll have to update the firmware. As for now, it’s not possible to manually update the firmware without an iPhone.
Check for software update
To check for updates, back up your Apple device. Then, connect the device to WiFi and navigate to Settings > General > Software Update.
If you view an update, tap on Install Now. But if you see Download and Install, press it to download the update. Next, type your passcode and press Install Now.
After the update is successfully installed on the device, check whether the earbuds are working. If not, keep on reading.
Check the connection
If the earbuds suddenly stop working, one reason can be that they are paired with another device. To troubleshoot in this case:
- If you’re attempting to connect with one device while sitting beside others, disable Bluetooth on nearby devices.
- Place the earbuds in the charging case. After waiting for a moment, take them out and reconnect.
- Confirm that the earbuds are chosen as your audio device.
Reset your Airpods
Resetting the AirPods to factory default setting will resolve any firmware or software issues that may be affecting the connection by eliminating any saved information and data from the earbuds. Just remember it disconnects previously paired devices so if you use your AirPods on more than one device you will have to re-pair the AirPods to all your devices
You can reset AirPods with these steps:
- Put the earbuds in the case and then wait for 30 seconds.
- On your Apple device, navigate to Settings, then Bluetooth. Click on the More Info button beside the AirPods.
- Tap Forget this device. Confirm it.
- Open the case. Now, press and hold the setup button on the back of the charging case for 15 seconds. Press it until the charging status flashes amber, then white.
- With the case open, place the earbuds beside the Apple device.
Also Read: AirPods Microphone Not Working? 10 fixes to try
Disable other apps
Sometimes, apps running in the background might be interfering with the Bluetooth connection. Turning off their Bluetooth permission will fix this issue. Here’s how you can do it:.
- Navigate to Settings and choose Privacy.
- Select Bluetooth.
- Now you’ll be able to see all the apps that you’ve given permission to use the on-device Bluetooth.
- You can either turn it off for particular apps or all of them.
Hopefully, this will solve your issue. If not, skip to the next step.

Alternative Solutions You Should Try
If you’ve tried the above steps and the problem persists, consider these alternative solutions:
Restart the audio source
If you’ve already reset the earbuds, but the problem is still there, the audio source may be the issue. In this case, a quick restart of the iOS device is ideal to offer a fresh start without performance issues or bugs.
Try a single AirPod only
You may not know this, but each AirPod can work independently. Therefore, to confirm whether the issue is restricted to a single AirPod, remove the AirPods one at a time from the charging case and observe if it connects to the device.
Contact Apple Support
If trying all the above-mentioned troubleshooting steps did not, unfortunately, help you out, there is nothing else you can do except contact Apple.
Most AirPods have a 1-year, limited warranty from the date of purchase. So, if your earbuds are within that time frame, the manufacturer can resolve your issue without any cost. But if your earbuds are older than that, things get expensive.
There are many ways to reach out to the manufacturer. But the simplest way is via the Apple Support App, available on your iPad or iPhone. It mentions warranty coverage, a list of your Apple devices, and more. This app offers a great way to communicate with Apple.
Conclusion
That’s all, folks! Here ends our detailed guide on the “Why won’t my AirPods connect” topic. We hope you’re equipped with the knowledge to fix this frustrating problem, so you can enjoy your music again!
Have you already tried any of the steps we listed? Which one of our methods helped you out? Feel free to mention it in the comments!